My home lab is undergoing a bit of a shift, as I experiment with different management interfaces for a virtualised server farm. Its all the fault of my Supermicro X9DRH-7F, which is running as a separate home lab with currently 128GB of memory, as I’m exploring ways to make my home server more complex, but hopefully easier to maintain.
Enter oVirt – which runs on Linux, uses KVM as the hypervisor, and which can be installed on a single box in “hosted engine” mode, where the management console is installed on a VM which runs inside the primary host. Its not ideal – as maintenance can be a headache.
Of course, I’m not going to just follow the easy guides provided by Redhat.. I’m going to add zfs backed-storage to the mix because I want to play with zfs on linux for the first time whilst I’m at it.
Here’s my basic install sequence:
First.. Install Centos with minimal install, and 30GB of space on LVM, leaving lots of free space on the main SSD pair to set up storage for the initial management VM.
Install some tools I like to have handy (locate, and ifconfig):
yum install -y net-tools mlocate
And upgrade the host from the initial install
yum upgrade -y
reboot
Install zfs repo:
yum install http://download.zfsonlinux.org/epel/zfs-release.el7_4.noarch.rpm -y
vi /etc/yum.repos.d/zfs.repo
Edit the repo file in /etc/yum.repos.d/zfs to change the enabled repo from default to the kmod one.
And install zfs and some nfs utils:
yum install -y zfs nfs-utils
Ok, cooking quickly here.. so lets make partitions on each of /dev/sda and /dev/sdb (you’ll need to do this next step twice)
fdisk /dev/sda
I created a new 3rd primary partition, with around 180GB of space, on each of my two disks (I have RAID1 /boot, and RAID1-backed LVM for / and swap). Note these new partitions are not RAID1.. I’ll be using zfs to take care of redundancy on those partitions, which also gives a nice read boost.
First, load the module, and then lets make a pool:
modprobe zfs
zpool create hosted mirror /dev/sda3 /dev/sdb3
zfs set compression=on hosted
zfs set atime=off hosted
I also turned on compression, as hey, its basically free throughput speedup, and turned off recording access time, as it’ll reduce the writes to the SSD and give a minor performance boost.
Next, make a couple of datasets:
zfs create hosted/host_engine
zfs create hosted/host_storage
zfs create hosted/isos
And lets set up to share them via nfs for ovirt:
systemctl enable nfs
systemctl start nfs
zfs set sharenfs="rw=@192.168.0.0/24" hosted/host_engine
zfs set sharenfs="rw=@192.168.0.0/24" hosted/host_storage
zfs set sharenfs="rw=@192.168.0.0/24" hosted/isos
showmount -e cloud
Note “cloud” is the name of my host, and the last command tells me:
Export list for cloud:
/hosted/host_storage 192.168.0.0/24
/hosted/host_engine 192.168.0.0/24
/hosted/isos 192.168.0.0/24
Yes, its really that easy!
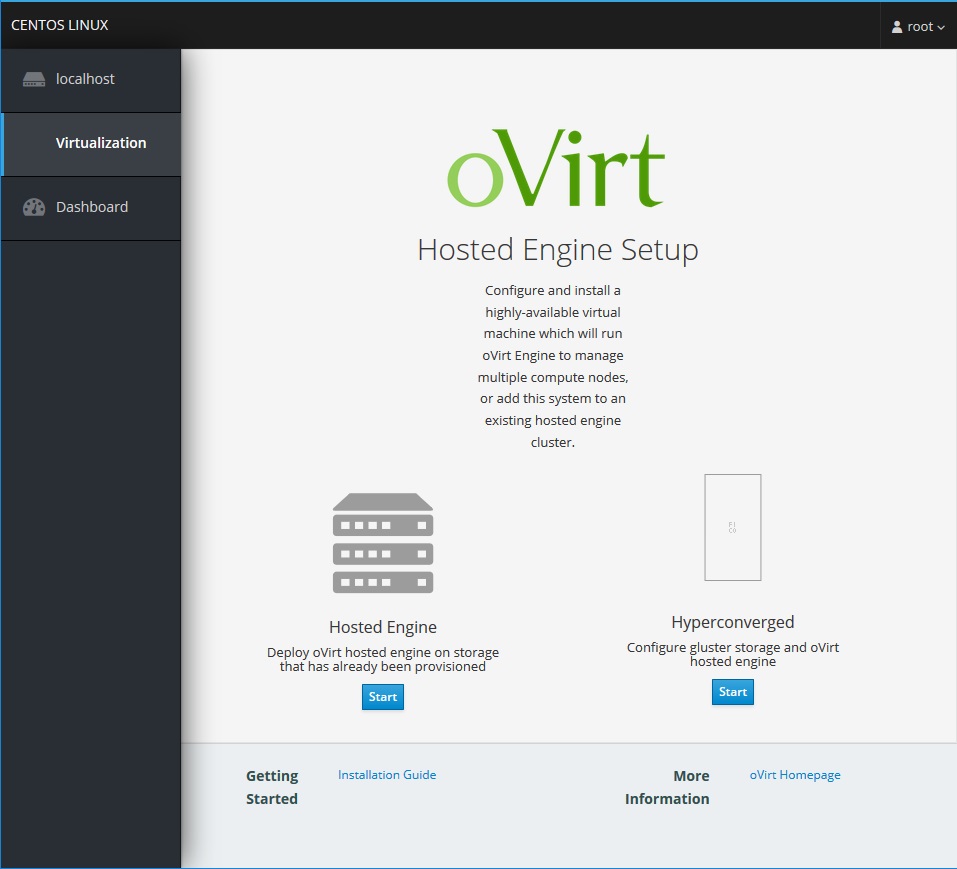
And so finally, without any further ado.. its time to get buried in installing ovirt.. which is actually very straightfoward, and very well documented, courtesy of our great friends at Redhat, in the excellent “Self-Hosted Engine Guide”
yum install http://resources.ovirt.org/pub/yum-repo/ovirt-release42.rpm
yum install ovirt-hosted-engine-setup screen vim wget
And its time for a crossroads.. Redhat’s site says:
On Red Hat Enterprise Linux hosts, the Cockpit user interface or
hosted-engine --deploycan be used to deploy the self-hosted engine. On Red Hat Virtualization Host (RHVH), self-hosted engine deployment is performed through the Cockpit user interface. The Cockpit user interface is a UI version of the hosted-engine script that assists with configuring the host and Manager virtual machine.Note: Cockpit is the preferred installation method.
So, being obedient, I went with the cockpit install.
yum install cockpit-ovirt-dashboard cockpit-dashboard ansible
Then we need to both start Cockpit dashboard, and also open the firewall port to it:
systemctl status cockpit.socket
systemctl start cockpit.socket
firewall-cmd --add-port=9090/tcp
And now the magic begins, so point your browser at your host’s port 9090:
https://cloud:9090/
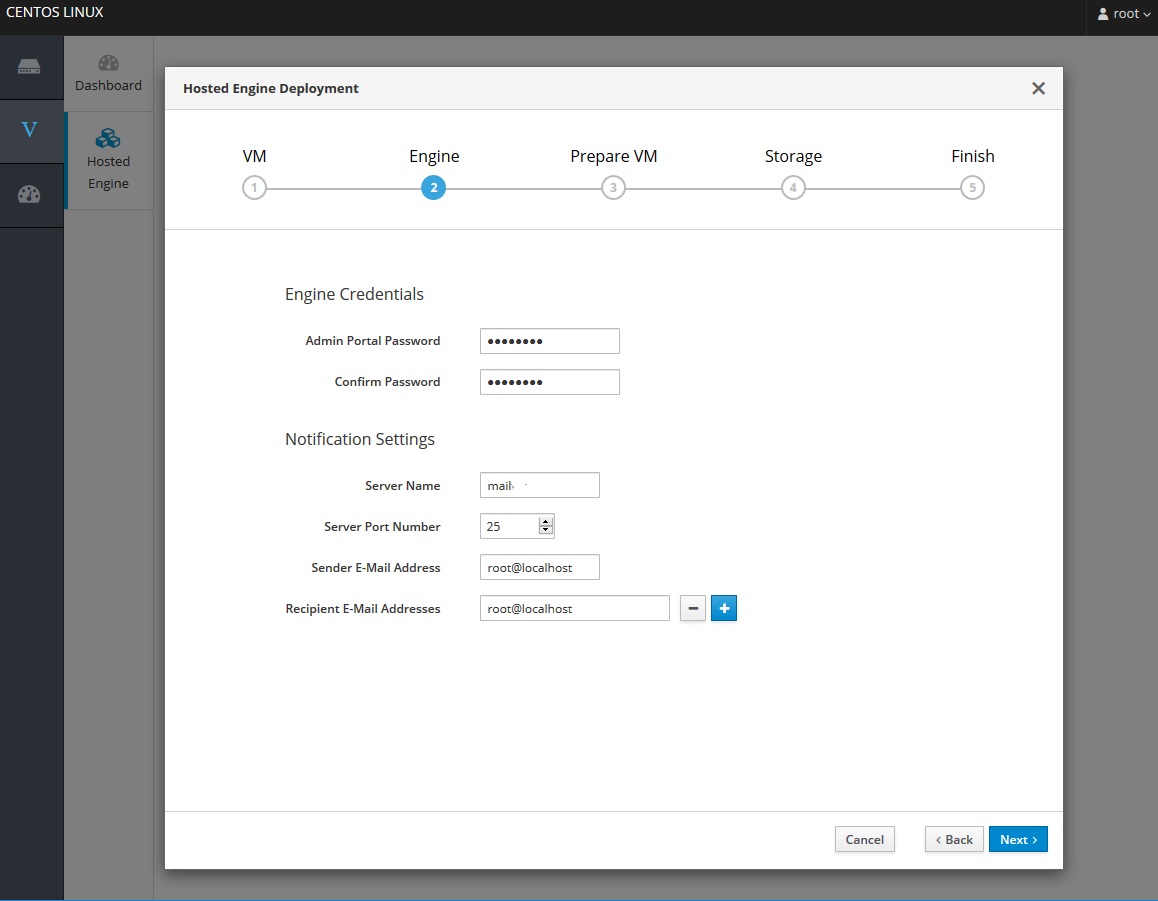
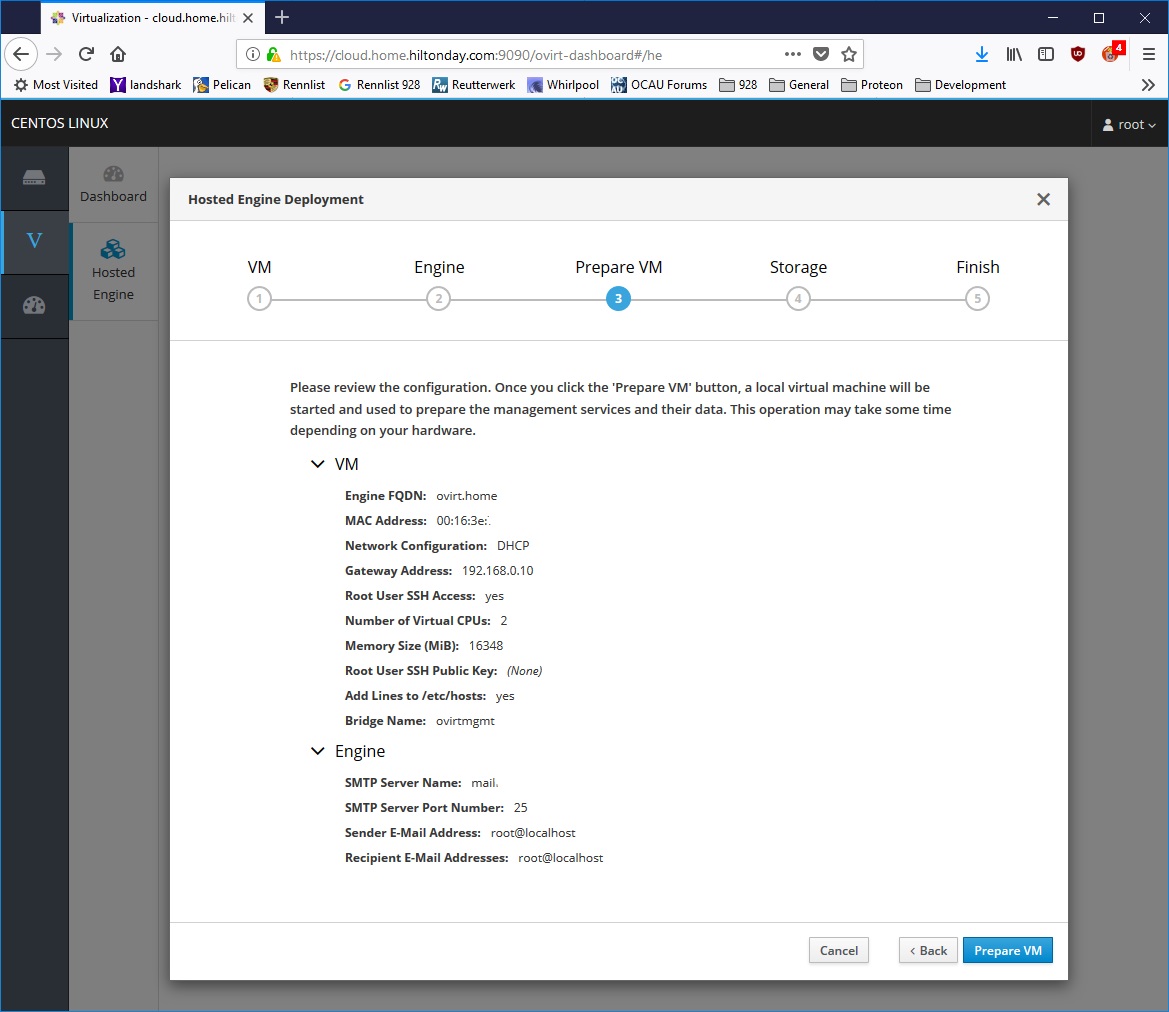
And you’ll start the following journey:


So thats it. Simple eh? Now just point your browser to your new management VM (I’m assuming you’ve already got DNS/dhcp sorted out for the MAC/IP you specified during install)
https://ovirt/

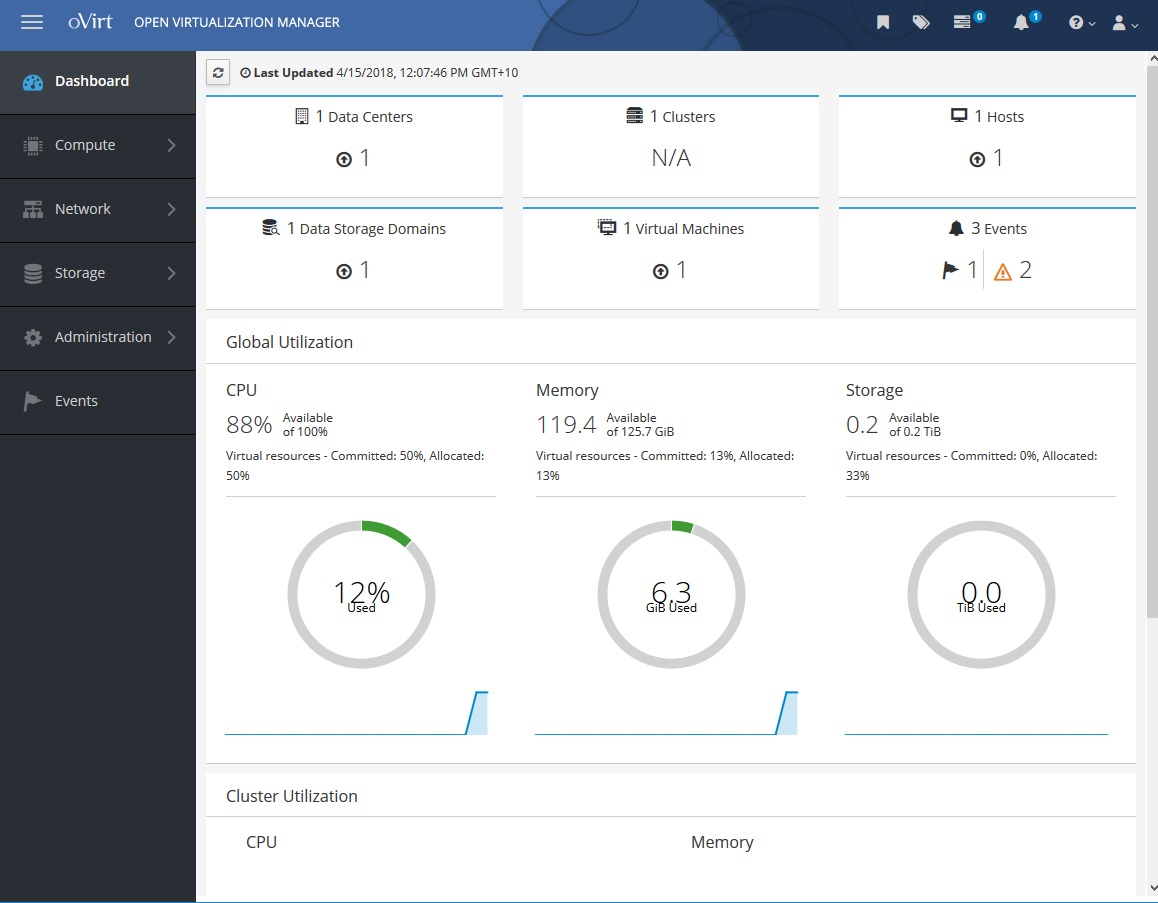

At this point, you can add more storage to the engine, create VM’s, etc., and the real journey begins.
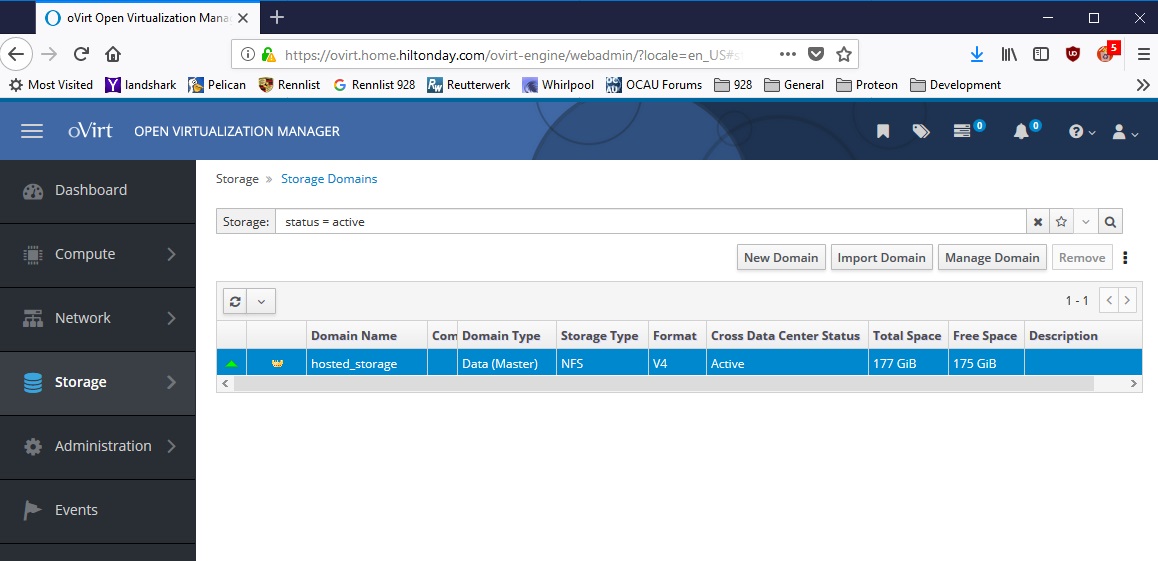
For the interested, here’s how much storage went into the management VM in host_storage:
[root@cloud ~]# zfs list
NAME USED AVAIL REFER MOUNTPOINT
hosted 1.34G 176G 112K /hosted
hosted/host_engine 96K 176G 96K /hosted/host_engine
hosted/host_storage 1.34G 176G 1.34G /hosted/host_storage
hosted/isos 96K 176G 96K /hosted/isos
Now that I’ve done this, I’m probably going to tear it all down however, and start again. Crazy talk, I know, but while I was researching pages to do this, I stumbled on something too interesting to pass up.. Nested VM’s, an dI can’t help but wonder about running Ovirt as an L1 VM managing a heap of L2 VM’s.
https://www.redhat.com/en/blog/inception-how-usable-are-nested-kvm-guests
Ooroo!

Hello,
I want to build a compute server with: dual CPU, 64GB RAM and space for running VMs (hosting my personal website, testing VMs, practice VMs etc.)
I also want to have a FreeNAS which will backup home PCs and VMs, keep videos, photos etc. Websites running in my compute-VM will be accessing that data (so is the plan).
How to do it? Install “ovirt hosted engine” in freenas as a VM and computer server as ovirt node?
if yes, are there any notes, documentation to do that?
All websites, docker, kub etc. (in future) should be running on compute node and use data folders on NAS for data access/storage etc.
I am new to all this and very confused. I appreciate all help in right direction.
Thank you.
Rajeev
Hi Rajeev, for home use, Ovirt is overkill. I ended up ditching it because of the pain of doing upgrades when running the whole environment on a single box.
I recommend using something like Libvirt with the virt-manager GUI app, on Rocky linux (fork from RHEL now that Centos is no longer downstream), or otherwise, Proxmox.
I building the same setup, but using RHEL 7.6… You can get a developer’s license for free. I’m also throwing 56gb infiniband into the mix and using SR-IOV to pass the Mellanox card through to the vms…. It’s taken me 3 weeks to finally get this to work… Tried a lot of linux distros.. Got it to work on Arch, but I don’t want to base my server on that. I’m also going to try throwing docker in the mix..
It’s a shame you don’t have a donate button! I’d most certainly donate to this
superb blog! I suppose for now i’ll settle for bookmarking and adding
your RSS feed to my Google account. I look forward to new updates
and will talk about this site with my Facebook group. Talk soon!
Wondering what your oVirt looks like now… Just start building mine one with a bit different approach… still, the starting point is oVirt Quick Start Guide… and poking around… all parts should arrive by the end next week